
Just starting on Etsy and stuck with bad photos? Learn the must-know Etsy product photography tips for beginners using simple tools and easy setups.
Good news: You don’t need perfect photos
Ever wondered why some Etsy shops get more clicks, even when their products aren’t all that different from others? In many cases, it comes down to one thing: the photos. For beginners, taking great product photos can feel intimidating—especially if the current pictures look dark, blurry, or just “off.”
But here’s the good news: you don’t need perfect photos to succeed on Etsy. What you need are clear, honest images that showcase your handmade items in the best light. Shoppers on Etsy aren’t expecting a polished studio setup. They want to see real, beautiful products made by real people. In this guide, you’ll learn the essential Etsy product photography tips that help beginners quickly improve their photos using just a few simple, budget-friendly tools.
Use Natural Light Near a Window
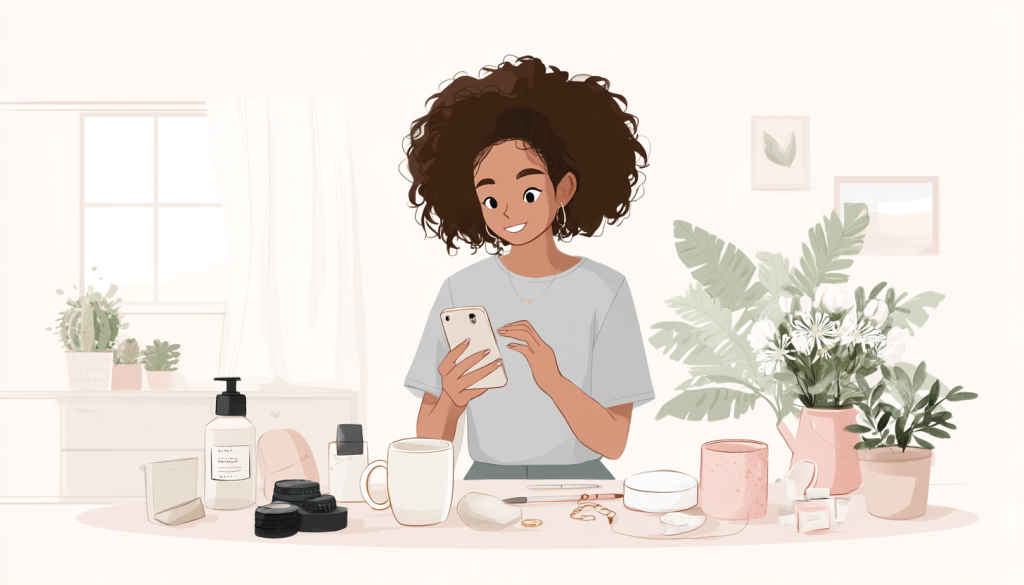
Lighting is the most important factor in product photography—and natural light is free.
- Avoid artificial overhead lights that can make products look dull or yellow.
- Shoot near a window when the sunlight is soft (late morning or early afternoon works well).
- Use a sheer curtain or white sheet to diffuse harsh light and minimize shadows.
Natural light helps bring out the color and texture of handmade items without expensive equipment.
Keep Backgrounds Clean and Simple
A clean background ensures that the product—not the surroundings—is the center of attention.
- White poster board, foam board, or even a plain bedsheet can do the trick.
- Avoid clutter, bold patterns, or props that don’t relate to the product.
- For consistency, try to use the same background style across multiple listings.
Simple backgrounds help create a cohesive shop look and let the product shine.
Hold Still (or Use a DIY Tripod)
Blurry photos are often caused by shaky hands. Luckily, there are easy fixes.
- Steady your phone or camera by resting it on a stack of books or using a low-cost tripod.
- Use a self-timer or remote shutter to reduce shake even more.
- Make sure your product is well-lit—good lighting makes focusing easier.
Crisp, in-focus images build trust and make products appear more professional.
Capture 3 Basic Angles
Different angles help shoppers fully understand what they’re buying.
- A front view gives a clear, overall look.
- A close-up reveals texture, materials, and quality.
- A lifestyle or styled shot shows how the product is used or fits into everyday life.
You don’t need dozens of photos—just a few thoughtful ones from different angles can tell a strong visual story.
Edit Lightly with Free Apps
A little editing can make a big difference, especially for lighting and clarity.
- Use beginner-friendly apps like Snapseed, Canva, or Lightroom Mobile.
- Adjust brightness, straighten the frame, and crop out unnecessary space.
- Don’t go overboard—avoid filters or heavy effects that distort colors.
Your goal is to present your product clearly and consistently.
You’ve got this—just start simple
When it comes to Etsy photos, done is better than perfect. Most buyers aren’t looking for magazine-style images—they’re looking for sincerity, clarity, and charm. Handmade products are special because they come with a human touch, and your photos should reflect that.
By following these basic Etsy product photography tips, even beginners can upgrade their listings without a big budget. Start with natural light, keep the background clean, and take a few different angles. It doesn’t have to be flawless—it just has to feel real. And that’s exactly what Etsy shoppers love.