Are you looking to create beautiful, repeating designs without visible seams? By the end of this guide, you’ll have all the skills needed to transform simple MidJourney prompts into stunning seamless patterns for wallpapers, fabrics, and digital backgrounds.
Why Create Seamless Patterns?
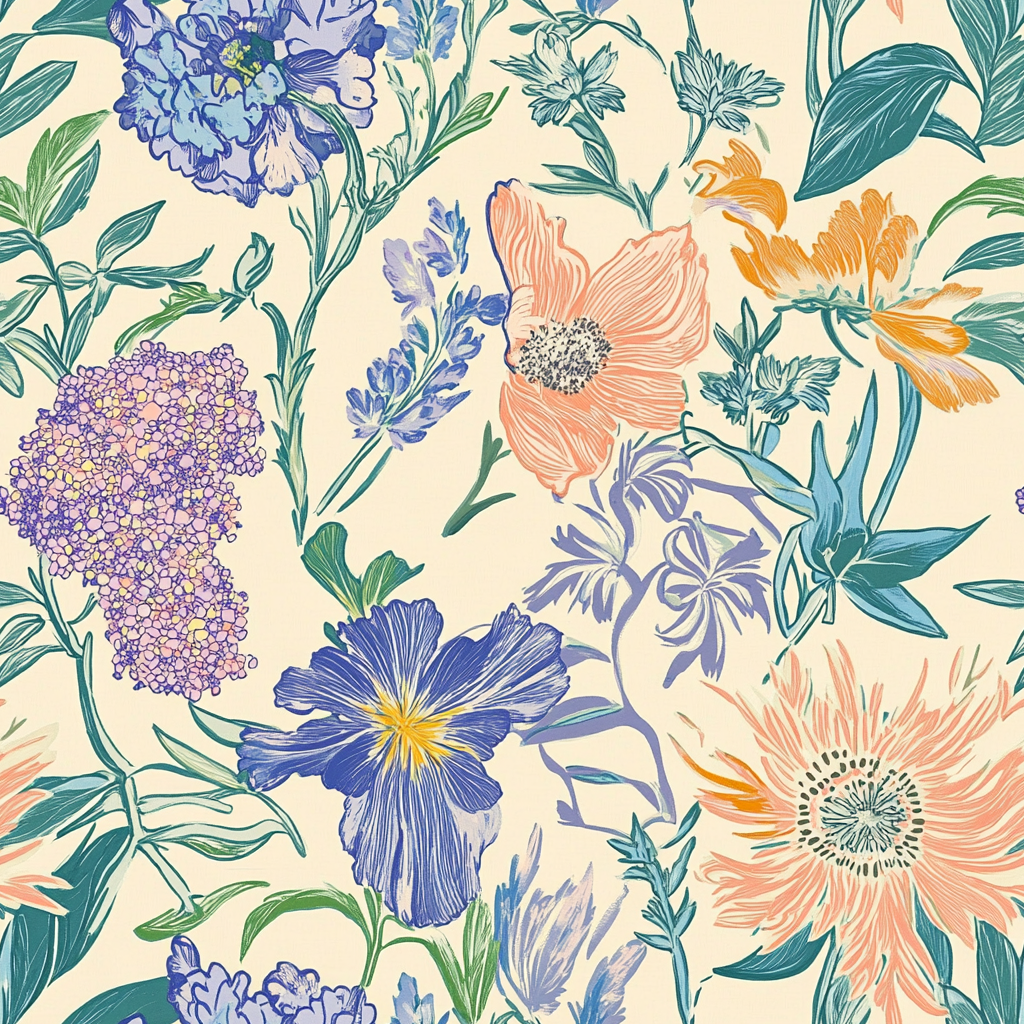
- Seamless patterns create smooth designs that repeat perfectly without any visible edges or breaks
- They are incredibly versatile for digital backgrounds, wallpapers, fabrics, textiles, and even print-on-demand products
- MidJourney makes pattern creation accessible with AI-powered tools, even if you have no design background
- Making your own patterns lets you create unique designs you can use for fun projects or even sell online
- Here’s how to create seamless patterns in MidJourney.
Step 1: Set Up Your MidJourney Account
Before diving into pattern creation, you need to ensure you have everything properly set up:
- Create an account on the MidJourney website if you haven’t already
- Log in to your MidJourney dashboard to access the image generation interface
- Subscribe to a MidJourney plan that fits your needs
- Familiarize yourself with the basic commands and interface

Step 2: Activate the Tile Feature
The magical key to creating seamless patterns in MidJourney is the tile feature. This is what makes your pattern repeat properly:
- In the prompt input area on the website, type your description
- Include the parameter “–tile” at the end of your prompt
- This special command tells MidJourney to generate a pattern that will tile seamlessly

Step 3: Choose the Right Prompt
Your prompt is the foundation of your pattern. I’ve found that being specific yields the best results:
- Include clear descriptors of the elements you want in your pattern
- Specify the style (watercolor, geometric, hand-drawn, etc.)
- Mention color schemes or specific hues
- Add modifiers like “vibrant,” “minimal,” or “vintage” to guide the style
Try something like: “small geometric honeycomb pattern in pastel colors with tiny flowers, seamless, detailed –tile”


Step 4: Generate and Review Your Pattern
Once you’ve entered your prompt:
- MidJourney will generate multiple initial pattern variations
- Take time to review each option carefully
- Look for patterns that already appear to tile well without obvious seams
- Select the best version by clicking on your preferred image

Step 5: Upscale and Enhance Your Pattern
After selecting your favorite pattern:
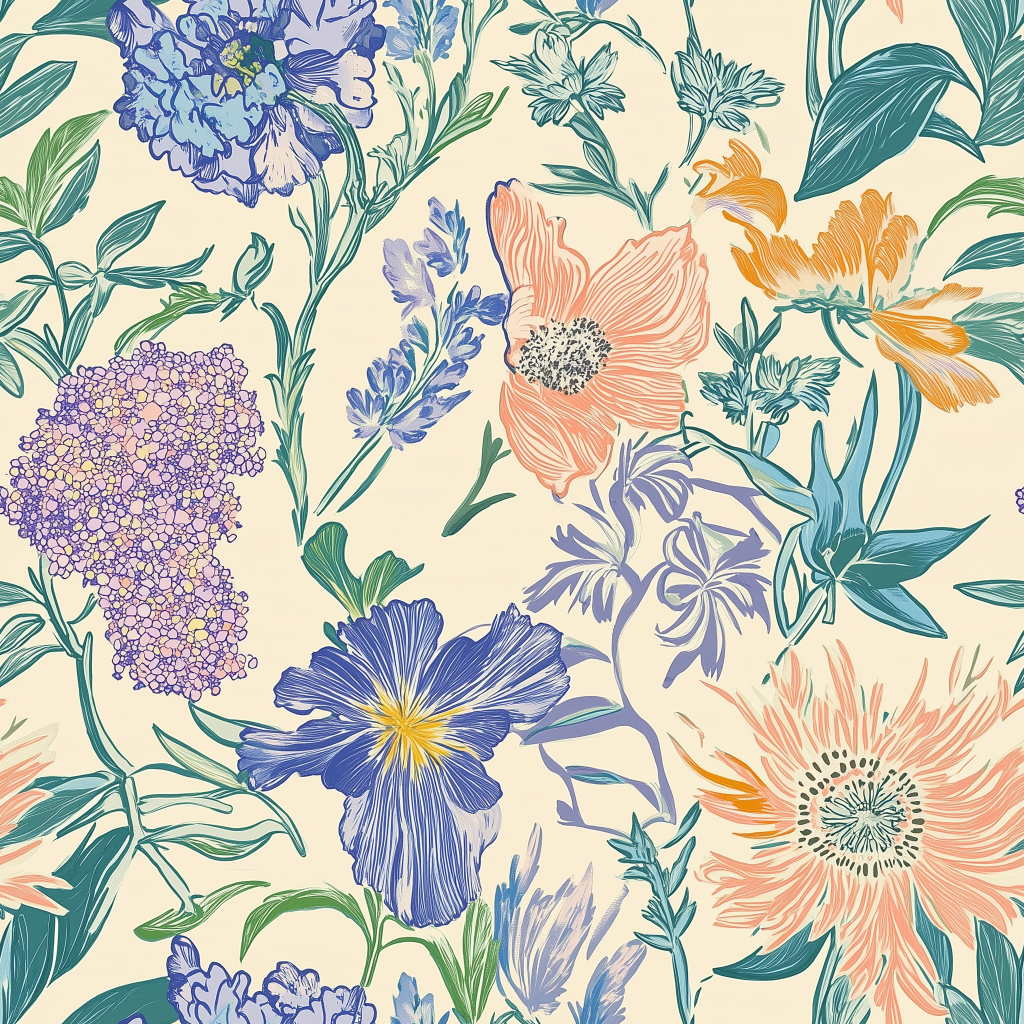
- Use the upscale option to create a higher-resolution version
- The upscaled version will give you a better look at how well the pattern tiles
- Examine the edges carefully to confirm the seamless quality
- Download your pattern by clicking the download button

Step 6: Test Your Seamless Pattern
Before finalizing your pattern, it’s crucial to test how well it actually tiles:
- Use a free pattern tester like Pattern Playground (https://learn.every-tuesday.com/pattern-playground/)
- Upload your image and see how it looks when repeated
- Check all edges carefully for any visible seams or misalignments
- If you notice issues, you may need to make adjustments in Photoshop or another image editor

Step 7: Export and Use Your Pattern
When you’re satisfied with your seamless pattern:
- Download the final pattern in high resolution
- Save in appropriate formats (PNG for web use, JPEG for general use, or convert to SVG if needed)
- Consider creating multiple colorways of successful patterns
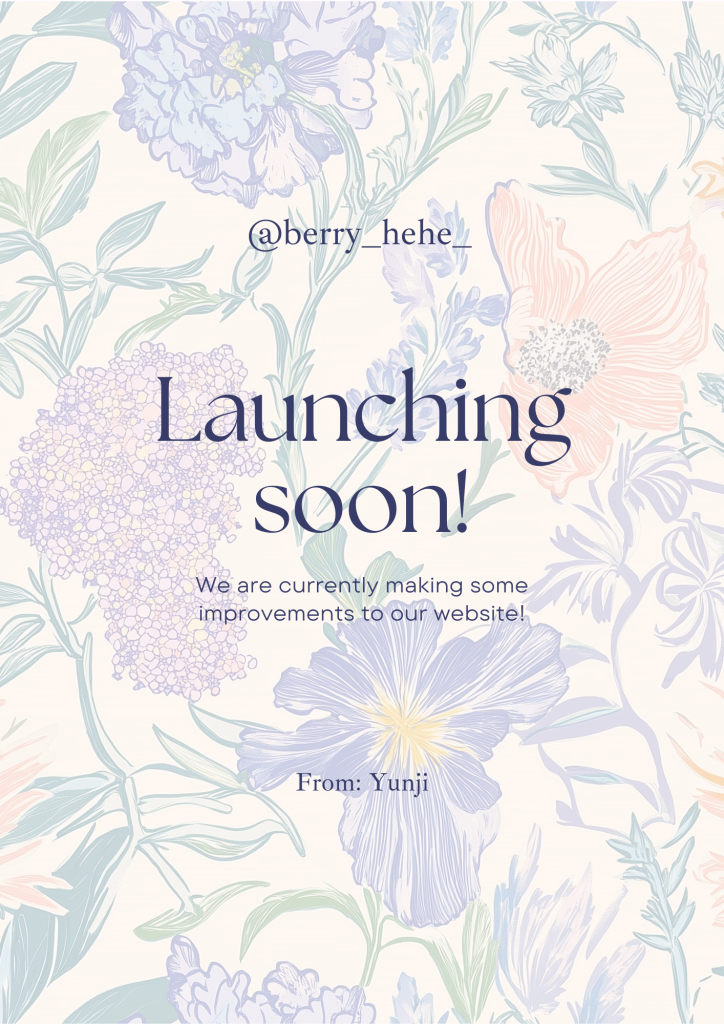
- Apply your pattern to mockups to visualize the final products
Common Issues & Troubleshooting
Even with the –tile command, you might encounter some challenges:
- Sometimes patterns may have slight misalignments at the edges
- Complex elements might create noticeable repeats
- Color variations might occur across the pattern
If you need to fix your pattern:
- Use Photoshop’s offset filter to check the center seams
- Adjust elements that cross the edges for better alignment
- Clone stamp or heal obvious repeating elements that catch the eye
Tip:
The maximum size and resolution you can generate in Midjourney is 4096x4096px @ 72dpi. When printing, you need 300dpi. When converting in Photoshop, the image size is automatically reduced (approximately 983x983px @ 300dpi)
In these cases, you can use upscaling programs. Here are some options:
- Topaz Gigapixel AI: Upscales both resolution and DPI simultaneously
- Let’s Enhance: Online upscaler with DPI adjustment capability
- Upscayl (Free): AI-based upscaling support
Final Thoughts & Next Steps

Now you have learned how to create seamless patterns in MidJourney. Creating seamless patterns in MidJourney has revolutionized what beginners can achieve without years of design experience. By following these seven steps, you can generate professional-quality patterns for countless applications. I’ve been amazed at how quickly I went from basic experiments to creating patterns I’m proud to use in my projects.
The true beauty of this process is in experimentation. Try different prompts, styles, and approaches to discover your unique pattern aesthetic. As MidJourney continues to improve, so will your pattern possibilities!
Ready to try it out? Open MidJourney and start experimenting with the –tile parameter today. Your perfect seamless pattern is just a prompt away!
Have you tried making seamless patterns in MidJourney? Share your experiences in the comments below!
Latest Articles: