Create stunning stickers fast—no Cricut needed. Download your free sticker template for printing and start today!

Introduction
I started making stickers, and it truly surprised me how easy and affordable it is, even without those fancy machines everyone talks about. Honestly, after testing it myself, it made me realize that anyone can create high-quality stickers with only some everyday supplies and a little creativity. Lately, I’ve been reading up on how small businesses everywhere are using a simple sticker template for printing, a free tool like Canva, and basic tools to craft professional stickers.
I did this because I was curious to see if it’s possible to get that “pro” look without expensive gear. I realized that with just a free template, some printable vinyl, and my old home printer, I could impress customers. No design degree or Cricut required.
The Sticker Revolution: Why Small Businesses Need Custom Stickers
When I first started learning about custom stickers, I didn’t realize how powerful these little things are for branding.
How stickers boost brand recognition and loyalty
Custom stickers really travel. Each time someone puts your sticker on a laptop, water bottle, or phone case, it’s suddenly like your business is everywhere at once. I honestly noticed that when customers see your logo or message all around, it unexpectedly builds a subconscious bond to your brand with zero effort after that first handoff.
Ways to use stickers in your marketing strategy
- Slip a thank-you sticker in every order.
- Use a sticker as a seal on packaging. People love sharing cute unboxing moments.
- Try launching special edition packs for holidays.
- Trade stickers with other local businesses for cross-promotion.
In essence, custom stickers are an easy win for any business model. You end up with more engagement, new income streams, and your brand out in the wild.
Myth Busted: Why You DON’T Need Expensive Equipment
When I looked into sticker-making, I thought you had to own a Cricut. But recently, I learned you don’t need one at all.
The Cricut myth and why it’s holding businesses back
While a Cricut looks cool, it can hold people back because the price adds up fast. $150 to $400 just for the machine, plus more for accessories. I found this intimidating at first, and I see now that it actually stops a lot of new business owners from even starting.
Cost comparison: DIY method vs. equipment investment
Let’s break it down:
- Cricut setup: $200-500, and you have to learn new software.
- DIY sticker template for printing: Free template, Canva (free or Pro), printable vinyl, scissors, and your trusty printer—usually under $50 if you already own a printer.
The “ugly little trick”: Using printable vinyl and basic tools
What really surprised me: with just printable vinyl or good sticker paper, and a careful design, you can print, cut, and finish beautiful stickers—no fancy tools. I realized you can start right away and get the same satisfaction as those creators with big setups.
You don’t need a big investment. You need a smart, simple method. That’s how real sticker businesses actually begin.
Getting Started: Essential Materials for DIY Sticker Production
I was just trying to make stickers with whatever I had at home. Surprisingly, I didn’t need more than a few basics.
Printer recommendations
Home printers:
- I found that Canon PIXMA and HP Envy printers give excellent colors.
- If you want waterproof stickers, look for pigment-based ink.
Commercial printers:
- These are great later, but not needed until you want to go big. Local print shops can help when you’re ready for more volume.
Paper options
- Waterproof printable vinyl: Lasts long and handles outdoor use.
- Glossy sticker paper: Great for eye-catching shine.
- Matte sticker paper: Makes writing easy, perfect for planners.
Overall, OnlineLabels and Neato are my top brands—easy to use and affordable.
Basic cutting tools that work surprisingly well
- Sharp scissors (always sharper than you think you’ll need)
- Craft knives and mats for clean lines
- Metal rulers for guiding cuts
Protective finishes for durability
I like to use laminate sheets if I want extra protection. In my experience, your total cost stays under $50 if you already have a printer.
Creating Your Sticker Design in Canva (Step-by-Step)
1. Accessing your free template
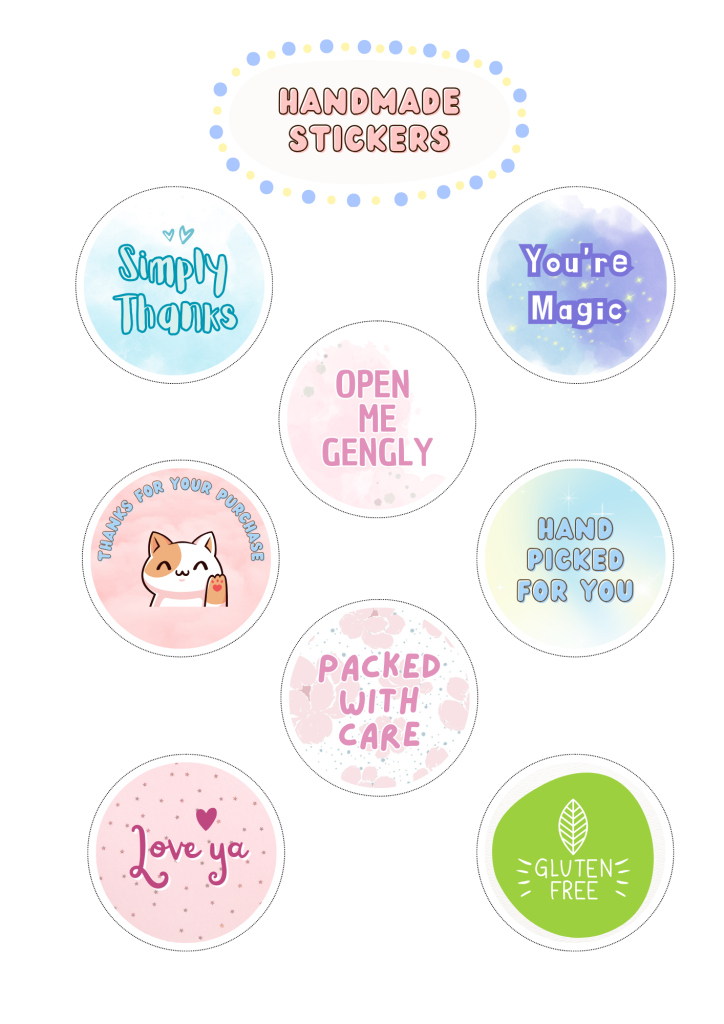


Or, Go to Canva and find a template you like.
2. Navigating the template structure
I noticed this template is neatly organized. Just open it and you’ll see:
- Pre-sized sticker shapes (circles, squares, or custom outlines)
- Bleed lines (makes the edges perfect)
- Simple guides for cutting
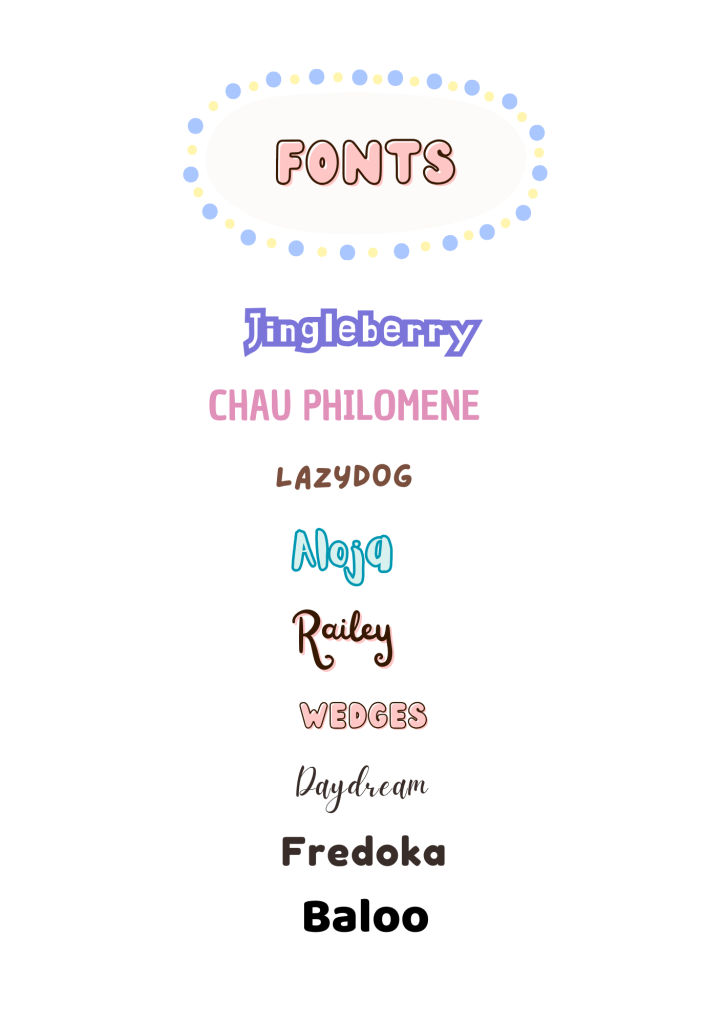
3. Customizing colors and fonts to match your brand
You can set your brand colors in Canva and choose any fonts you need. I always try bold fonts for logos and fun, handwritten styles for a casual feeling.
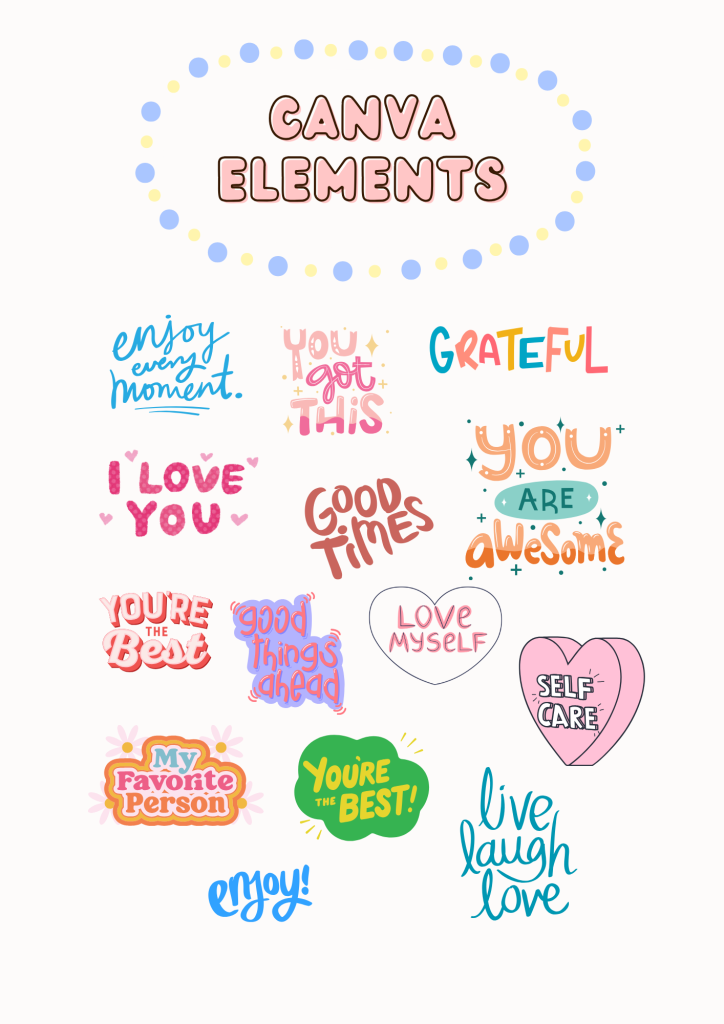
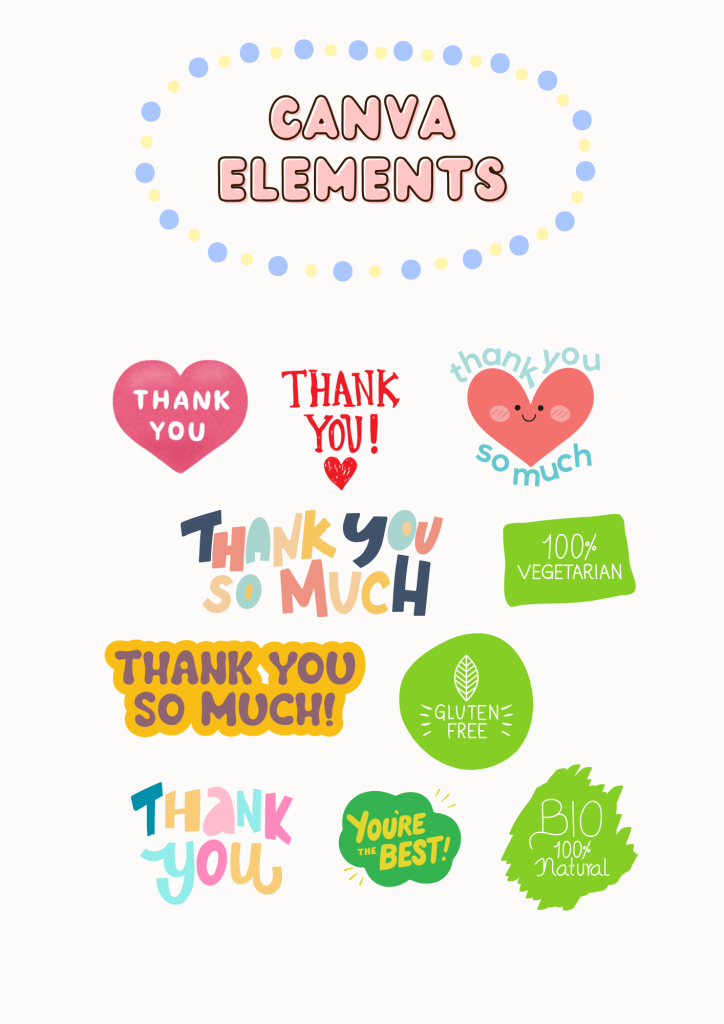
4. Adding your logo and graphics
Just drag and drop your logo as a clear PNG. Canva’s library is full of fun illustrations and graphics if you want something extra.
5. Creating sticker sheets vs. individual designs
If you’re making a batch: fill an entire sheet with the same design. For singles: spread out different designs with space for cutting.
Honestly, you get Instagram-ready previews in just a few clicks.
Design Principles for Viral-Worthy Stickers
I thought a good sticker was all about flashy designs, but I quickly learned that it’s more about connection and simplicity.
1. Color psychology that drives purchases
- Warm hues: (Red, orange, yellow) grab people instantly.
- Cool tones: (Blue, green) create a calm, trustworthy feel.
- Contrast: High-contrast colors stand out everywhere.
The way I see it, pick colors that match your mood and brand identity.
2. Typography tricks for maximum impact
- Stick with bold, easy-to-read fonts.
- Use short messages. Keep it to one or two words.
- Try mixing thick and thin fonts for visual appeal.
3. Simplicity + uniqueness = unforgettable
Don’t crowd your design. A unique icon or catchy phrase can work wonders—people remember and share it.
4. Designing for different shapes
- Circle: Center everything, no text on the edge.
- Square: Try patterns or icons in corners.
- Die-cut: Outline your main graphic for a custom look.
Based on everything I’ve seen, the most popular stickers are simple and instantly recognizable.
Setting Up Your Document for Professional Printing
When I first downloaded templates, I didn’t realize how much setup affects the final print.
1. Understanding bleed and margins
- Add a small 1/8-inch bleed for full-color stickers.
- Keep words and important images inside another 1/8-inch space. Makes sure nothing gets chopped.
2. Creating proper cutlines
- Use Canva’s “Shapes” to outline your sticker.
- Make your guides very visible (I like to use bright colors), but remember to remove or fade them before you export.
3. Organizing multiple stickers on one sheet
I always leave at least a 1/4-inch gap between each design and fill the page to save on material.
4. Export settings for highest quality
Always export as PDF Print or PNG at 300 dpi. And if you see an option for “crop marks and bleed,” be sure to check it.
With these steps, your prints come out sharp, clear, and professional—no fuzzy lines or awkward cuts.
The Printing Process Revealed
After I printed my first stickers, I realized how much print settings matter. Here’s what I learned:
1. Printer settings for optimal results
- Use “Best Photo Quality” or “High Quality” settings.
- Select the correct paper type in your printer menu.
- Load just one sheet at a time to avoid jams.
2. The secret to vibrant, waterproof stickers
Pigment-based ink helps your stickers survive water. For even more protection, I add a clear laminate sheet on top.
3. Troubleshooting common printing issues
- If colors look dull, check your ink levels or try a new paper.
- If you see smudges, give it a few minutes to dry. Or, try quicker-drying glossy paper.
- For paper jams, only load one sheet at a time and keep things clean.
4. Professional printing options when scaling up
When you’re ready for more, local print shops or online printers let you upload your designs and sleep easy. However, I was surprised how many orders a home setup can handle.
Cutting and Finishing Your Stickers
At the start, I didn’t know if manual cutting would look neat, but it works better than you think.
1. The precision cutting hack (without expensive tools)
- Use a metal ruler and sharp craft knife for lines.
- For circles or curves, slowly move the paper—not the scissors—for smooth edges.
2. Adding a professional finish
I wipe each sticker to get rid of dust. Then, I stick on a laminate sheet and trim the borders again for that clean, pro look.
3. Testing for durability
Before using a batch, I always stick one on my water bottle and run it under some water. No fading? That’s my sign they’re ready.
4. Using your stickers for business
I love slipping stickers into customer orders, bundling them in packs, or adding them to welcome kits for events.
For me personally, I’ve become a big fan of sharing stickers just to see the smile they bring.
Frequently Asked Questions
Q: Can I really make professional stickers without a Cricut or cutting machine?
A: Yes! With our sticker template for printing, good design, and careful manual cutting, you’ll get impressive, polished results using only basic tools.
Q: What type of printer works best for sticker production?
A: Most inkjet printers work well, but pigment-based models (like HP, Canon PIXMA, or Epson EcoTank) last longer and resist fading.
Q: How do I make my stickers waterproof?
A: Use waterproof printable vinyl, or put a laminate sheet on top of your stickers. Both ways help your stickers survive spills.
Q: Can I use stickers commercially made with your template?
A: Absolutely! The sticker template for printing comes with a commercial license.
Q: How much does it cost to get started with DIY sticker production?
A: Most people spend less than $50 to start, if they already have a printer. Paper packs are about $10-20, and you can cut with regular scissors.
Final Thoughts
I honestly believe custom stickers are one of the most affordable and powerful ways to boost your small business’s brand. You don’t need a Cricut, Silhouette, or pricey setup. Just grab our free sticker template for printing, open Canva, gather some basic supplies, and you’re set.
Ready to launch your own sticker collection?
Download your free Canva sticker template for printing now and watch your shop’s personality stick—on laptops, water bottles, and everywhere your happy customers go.
Level up your branding, get creative, and see your business grow—one perfect sticker at a time.